Black paint can look like a mirror when treated properly, and like a chalkboard after one bad wash. It punishes sloppy technique, cheap towels, and rushed hands. The good news is that black also rewards discipline. With a methodical approach to car polishing and a few trade tips, you can deliver a deep, liquid finish without the halos, holograms, and spiderwebs that show up under sharp light.
Why black shows everything
Black paint reflects contrast more than lighter colors. Every micro scratch refracts light, which shows as swirls under the sun or a gas station canopy. Many factory black paints are on the softer side, especially on daily drivers that absorb heat. Softer paint marries quickly to dirt, then marks easily. Even something as gentle as a dusty microfiber can etch a trail if you push too hard or work dry.
This sensitivity means the entire process matters, not just the final pass with a finishing polish. Swirls are as likely to come from the wash bucket as the buffer. Think of paint correction as a chain of risk. Minimize friction at every link and you end up needing less cutting, which preserves clear coat for the long run.
Start with light you can trust
Real inspection light changes everything. Sunlight tells the truth, but it is inconsistent. Indoors, a quality handheld LED in the 4,500 to 6,500 K range with a high CRI reveals haze, rotary trails, and deep RIDS that overhead shop lights hide. Move the light low and rake it across panels. Black makes you earn every panel, so build a habit of checking as you go rather than at the end when your options are limited.
If the car lives outside, you should also tilt your light and inspect at dusk angles. You’ll catch elongated micro-marring that disappears at noon but screams in the evening.
Washing and decontamination that protect clear coat
You do not polish dirt. Trying to shortcut the prep step is how good intentions end up as sanding marks you chase for hours. Begin with a pH neutral foam to soften grit, then a contact wash with a plush mitt and straight-line passes. Use two buckets or a bucket with a proven-grit separator, and refresh rinse water often. Dry with a soft, high GSM towel and a drying aid to reduce towel drag. Black paint hates friction, so use airflow where you can. A small electric blower moves water out of mirror caps, door handles, and emblems that love to spit droplets during machine work.
Follow with chemical decontamination if needed, then a fine or medium-grade clay depending on the paint. Clay introduces marring on black more than any other color. Keep the surface dripping with lubricant, work in small sections, and retire clay early if it loads up. The less correction you must do later to fix clay marks, the more clear coat you save.
Masking and edges
Mask anything that can catch a pad: trim, emblems, PPF edges, especially around washers or PDC sensors. Edges cut faster and burn faster. Tape them, then treat them as off-limits to heavy pressure. On black cars with paint protection film, feather your passes onto the film with a finishing pad and low speed, and do not let compound build at the film edge. If the film is old or yellowing, leave it alone and focus on the painted panels.
Tools and pad selection for black paint
Black paint does not require exotic tools, only tools used properly. Many pros complete swirl-free work with a 15 or 21 car detailing mm long-throw dual-action polisher, a rotary for spot work, and a 3-inch DA for pillars and bumpers. You can get the job done with fewer machines, but smaller pads on tight areas save time and reduce mistakes.
Here is a concise kit that covers most black paint scenarios:
- Dual-action polisher with 15 or 21 mm throw, plus a 3-inch DA for tight areas Three pad types per size: cutting microfiber, medium foam, ultra-soft finishing foam Two liquids: a diminishing abrasive compound and a true finishing polish Quality microfiber towels, 500 GSM or higher, edgeless where possible Panel wipe or isopropyl alcohol blend for inspection, plus painter’s tape in two widths
Microfiber cutting pads correct quickly on many modern blacks, especially finicky soft paints found on some domestics and Teslas. They also leave a uniform haze that finishes out predictably. On harder German finishes, a medium foam with a modern compound can remove the bulk of swirls without the extra haze of microfiber. Save the ultra-soft finishing pad for your final jeweling stage. Keep multiple copies of each pad. If a pad loads or overheats, swap it. Clean on the fly with compressed air or a dedicated pad brush. Pad cleanliness is a direct line to swirl control.
Establish the test spot
Your first duty is not speed. It is mapping what the paint wants. Choose a representative 2 by 2 foot section that includes light defects and at least one transition or contour. Start mild, then move up. On black, a thoughtful test spot pays back an hour across an entire car.
Work in this order: a finishing foam with finishing polish, inspect. If too mild, a medium foam with compound, inspect. If the scratches remain, microfiber with compound, inspect again. Do not leap to aggressive combinations without data. When you find the least aggressive combo that wins, lock it in and repeat consistently.

The passes that build a swirl-free finish
Black paint asks for deliberate movement. Keep your pad flat, track your arm speed like a metronome, and overlap passes about 50 percent. Pressure should be firm enough to engage the pad, then lighten as you refine. Many technicians benefit from a mental script: set speed, set pad, set pressure, work the cycle, wipe gently, inspect with a light.
The work cycle matters. Modern compounds and polishes have a window where abrasives cut then refine, and where the lubricants start to dry. On black, dry buffs create invisible micro-tears you only see one step later. If your towels feel grabby, your liquids are too dry. Add a drop, reduce speed, or wipe sooner. Adjust for the room too. On hot days, shorten your section and work time. On humid days, extend your wipe time or switch to a panel wipe with less water content.
Step-by-step swirl-free workflow
- Wash, decontaminate, and dry with low friction. Blow out cracks and mirrors. Mask trims and sensitive edges. Choose a test spot that represents the car. Test least aggressive pad and polish first, ramp up only if required. Cut the whole car with your chosen combo, cleaning pads often and inspecting sections. Finish with a dedicated polish, soft pad, slow speed, and light pressure to jewel the gloss.
Dialing in the finishing pass
The final pass makes or breaks black paint. After your compounding or medium step, your finishing polish needs a pristine pad. Prime the pad lightly for the first section so the face is uniform, then use two to four small drops for subsequent sections. Reduce machine speed a notch and reduce pressure. Let the pad glide and finish each set with progressively lighter pressure, a painter’s touch rather than a carpenter’s. This tapering removes the faintest haze and improves clarity when you pull the car into sun.
If you chase that last 5 percent, try cross-hatching with a single drop of polish over an already corrected area at the slowest machine speed your pad still rotates. Some refer to this as jeweling. You are no longer cutting, just refining the microscopic peaks. On some soft paints, even the oils in a polish can mute clarity. Use a measured panel wipe to reveal the true finish, but do not flood the area. Strong solvents can reintroduce marring if you wipe aggressively.
Common mistakes that create new swirls
Rushing the wipe down is the easiest way to lose ground. If residue clings, mist a panel wipe, fold your towel often, and change towels before they saturate. A towel that skates is safer than a towel that drags. Another common error is keeping a dry pad on the paint too long. Microfiber pads especially need air cleaning frequently. If your cut falls off after two sections, your pad is clogged. Swap it.
Letting a pad edge dig into a contour burns a line that black paint will display like neon. Keep pad faces flat, reduce pressure on convex curves, and consider smaller pads for tight work. Finally, do not chase deep random isolated scratches to perfection with aggressive combos if they require heavy clear removal. It is better to soften them and preserve film build.
Soft paint, hard paint, and knowing the difference
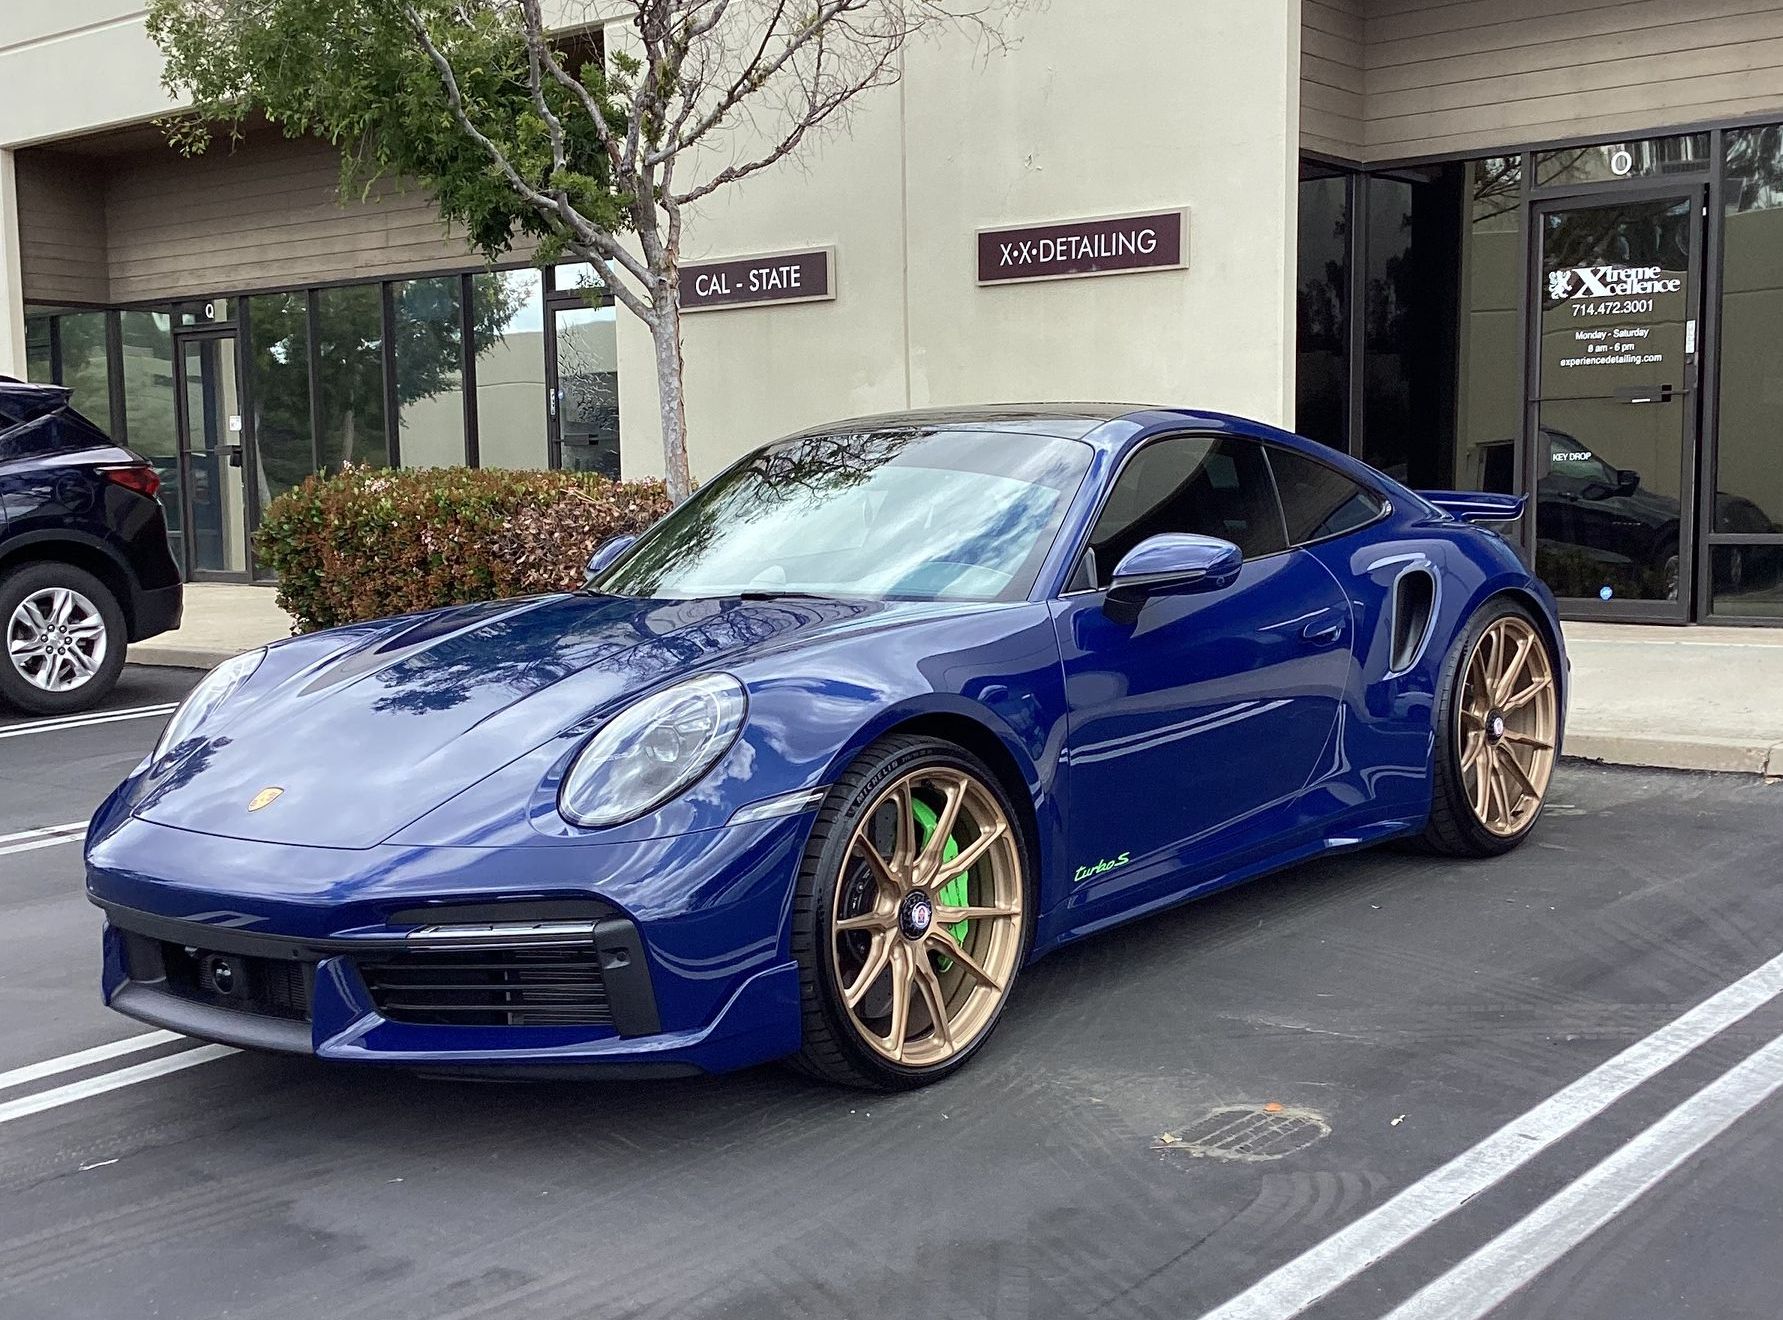
Not all black paint behaves the same. Toyota and Honda blacks typically correct easily and mar easily. BMW and Mercedes blacks often sit on the harder side, needing more bite to correct but resisting microfiber haze. Tesla can be variable, with Model 3 and Y paint on the softer end in many cases. An older GM truck’s black may feel sticky in the heat, then dusty as it cools. Your test spot tells the truth. If a finishing pad leaves trails, you are on soft paint. If a medium foam barely moves the swirls, you are on hard paint. Let this guide pad choice and pressure more than brand stereotypes.
Rotary vs dual action, and when to use each
A well-managed rotary polisher can cut fast and finish beautifully on hard black paint, but it demands discipline. Rotary holograms live on black panels forever if you move too fast or work in poor light. A dual-action polisher is more forgiving and can finish to a higher standard on most modern black paints with the right pad and liquid. Many experienced techs keep the rotary for severe defects on hardened panels or for edge work with a small pad, then return to DA for refining. The tool is not the hero. Your touch is.
How Xtreme Xcellence Detailing diagnoses black paint problems
At Xtreme Xcellence Detailing, the black cars that arrive fall into two buckets. The first is a relatively new vehicle with dealer wash swirls and a light haze that shows on the hood and roof. The second is a daily driver with years of tunnel-wash love, where the finish under a shop light looks like a galaxy. The approach differs.
For the first type, a medium foam with a modern diminishing abrasive compound often erases the majority of swirls in one pass. We follow with a true finishing polish on an ultra-soft foam pad, then a measured panel wipe to verify the clarity rather than the oil gloss. On the second type, we set expectations. Deep RIDS that catch a fingernail get softened, not eliminated, and we focus on consistent improvement across all panels instead of chasing isolated damage that costs too much clear coat.
The brand’s process discipline extends to lighting. We map the car and pick two or three angles per panel, then verify each after wiping. On black exotics with softer clears, we switch to microfiber cutting pads early and accept the extra finishing work because the uniform haze they create is more predictable to remove than the random marring that a firmer foam can produce.
Finishing protection that suits black paint
A swirl-free black finish needs a layer that resists light marring and makes maintenance safer. Waxes give warmth but thin quickly on daily drivers. Modern sealants last longer, shedding dust and reducing towel friction. A quality ceramic coating adds hardness and slickness that helps with wash-induced marring, and it also resists chemical stains that show up dramatically on black hoods. The decision is not only about budget, it is about how the car lives. A garage-kept weekend coupe could thrive with a sealant and careful washing. A highway commuter benefits more from a ceramic coating after proper paint correction.
Paint protection film is a separate conversation. On a black car, PPF masks some twirls due to its self-healing top coat, but it also reveals edges and collects compound if you are sloppy. It shines on high-impact zones like the front bumper, hood leading edge, and mirrors. If you plan both PPF and a ceramic coating, correct the paint first, install the film, then coat both the film and the remaining painted areas with a coating designed to bond to urethane. Do not polish aggressively over PPF seams. You will peel an edge or create a bright line on black that takes longer to fix than it did to cause.
Xtreme Xcellence Detailing on protection layers for black cars
Black finishes we deliver at Xtreme Xcellence Detailing usually leave with a layered plan. After paint correction, we recommend either a durable sealant or a ceramic coating for the whole vehicle, and PPF on high-strike zones if the owner clocks many highway miles. The reasoning is practical. Black shows rock rash and etching like a billboard. PPF across the bumper and hood edge saves time and paint depth later. The coating adds that slick wash feel that helps avoid reintroducing swirls with towels.
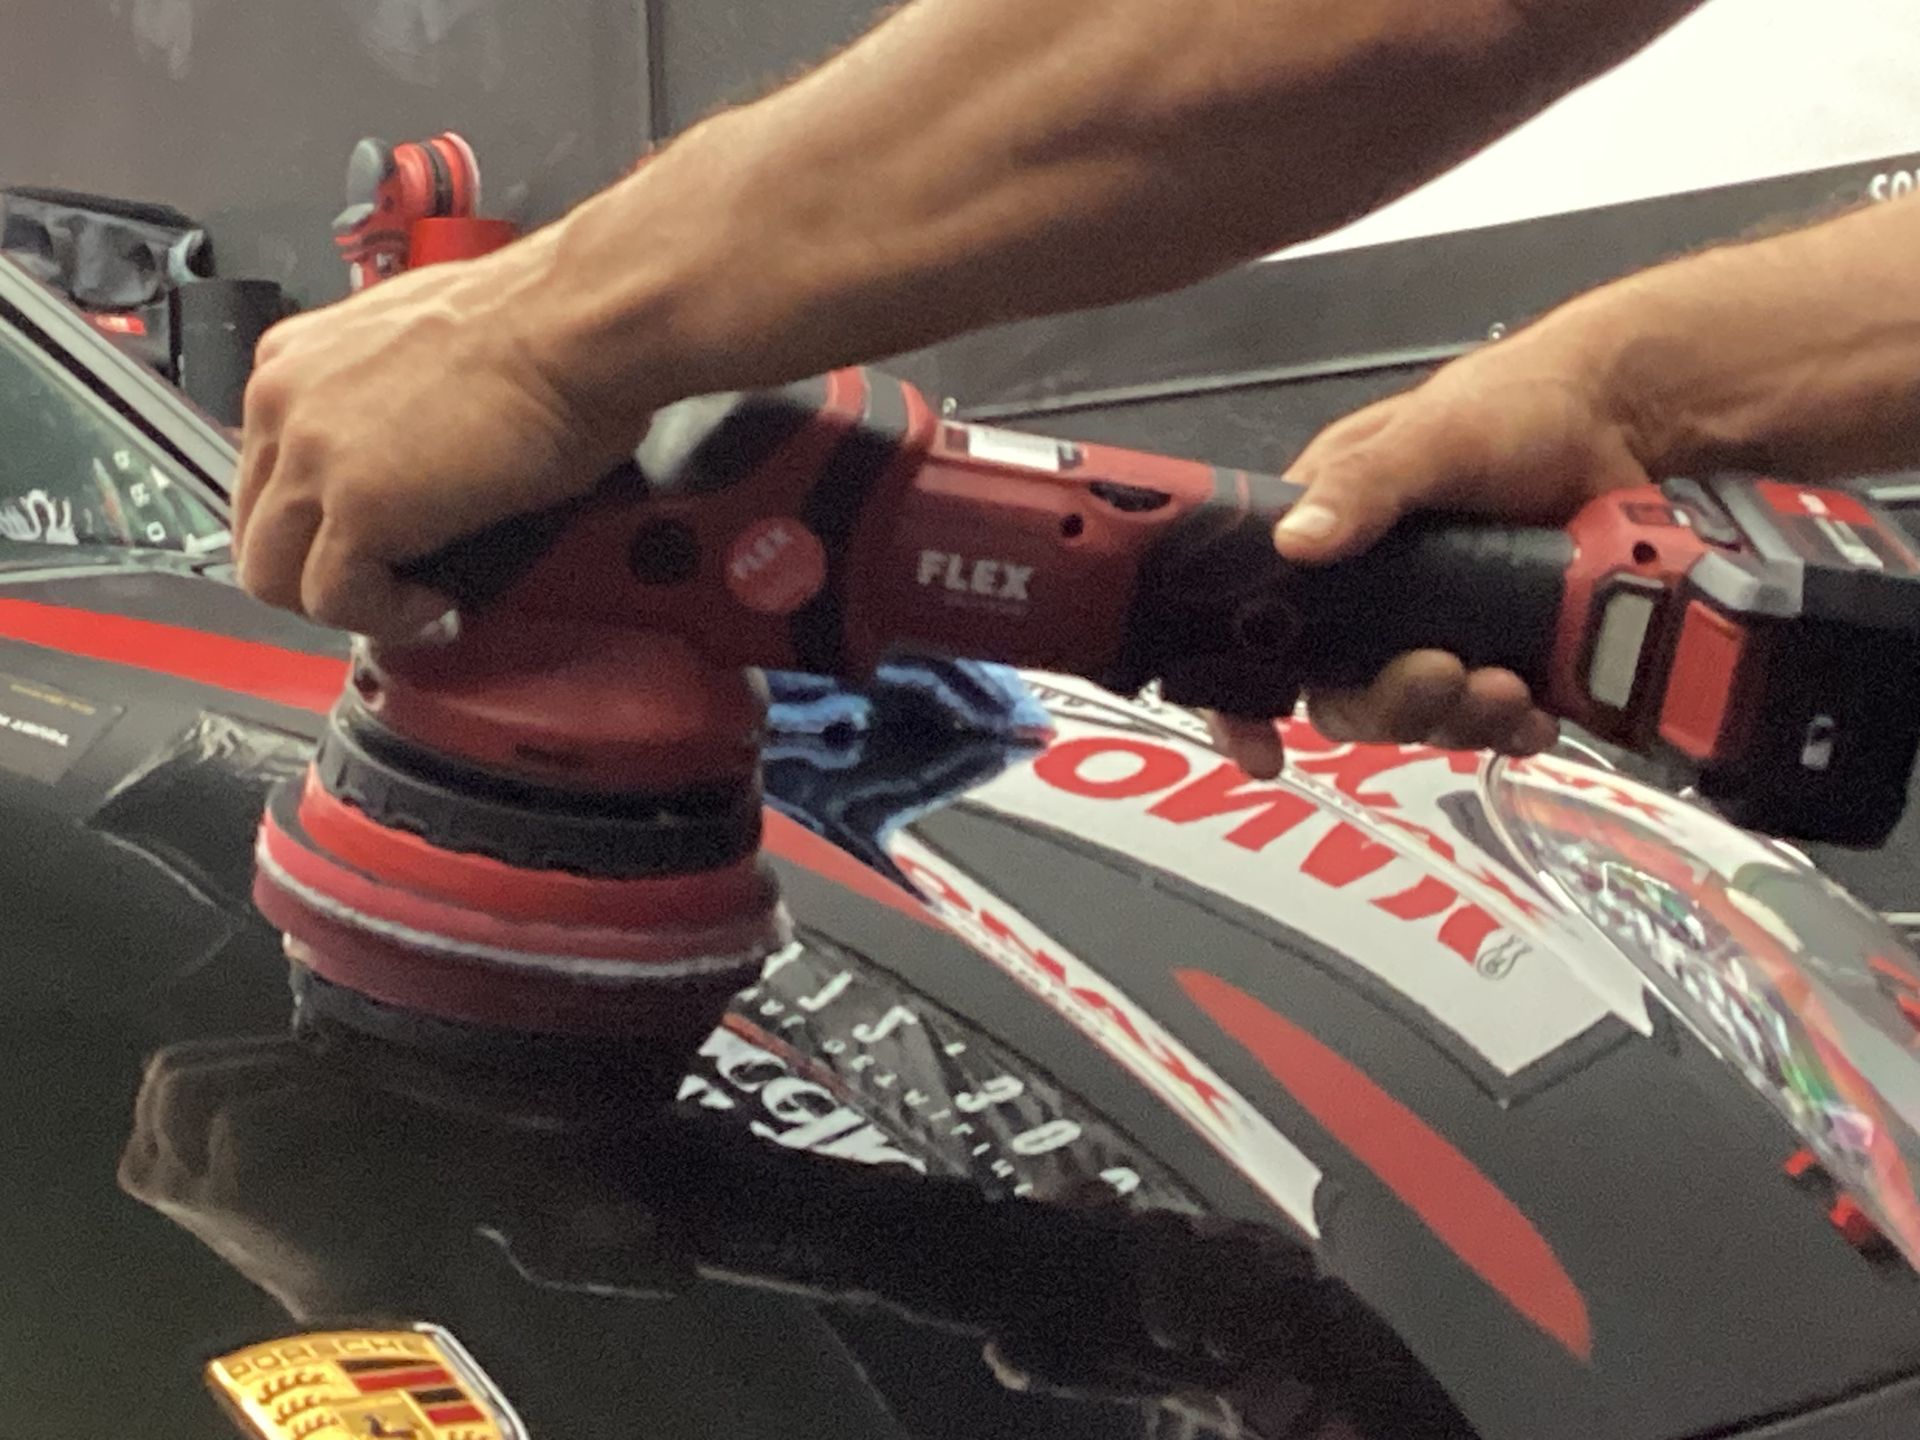
For owners who wash at home, we run through a simple maintenance script. Two buckets or a pressure pre-rinse, a thick neutral foam to lubricate, and soft towels that get retired to jamb duty as soon as they lose the plush feel. If your wash mitt snags or your towel edges feel sharp, you are one wash away from putting back what you just paid to remove. The clean look of a black car depends more on the next ten washes than the two days of correction that came before.
Residue management, towel discipline, and panel wipes
Residue equals friction, and friction equals new marks. Black cars beg for over-wiping because every edge of polish can reflect under inspection light. The trick is less pressure and more towels. Fold your towel into eight clean faces, and switch faces with each wipe. Use a gentle panel wipe mix after finishing, not a heavy solvent that dries instantly and makes you scrub. If you must nudge residue, mist the towel, not the panel, and glide. If you feel drag, stop and swap towels.
Choose towels you can trust. High GSM, edgeless if possible, and washed without fabric softener. Dry them on low heat and store them in sealed bins. Toss any that hit the floor. On black, a single grain of grit in a towel can write a signature you will have to buff out later.
Environmental variables that matter more on black
Heat, humidity, and dust change everything. In hot garages, compounds flash faster and dust looms. Shorten your sections and reduce machine speed. In damp air, oils linger and may smear. Allow a touch more time before wipe down, and use a panel wipe that balances water and solvent so it does not fight the polish. Dust is the silent killer. Close doors between polishing sets, and keep a small air purifier running if you have it. Every settle of dust becomes a scratch if you drag your towel through it.
Integrating correction with full exterior detailing
Paint correction does not stand alone. An excellent exterior detailing session handles glass, trim, wheels, and exhaust tips to avoid cross-contamination. If you polish paint, then wipe a dusty wheel and return to the hood with the same towel, you just walked debris across black paint. Work clean and work in zones. Wheels and tires first, then a fresh wash if needed, then the paint. Save glass for last. Black paint rewards that extra order.
Interior detailing might seem unrelated, but it is part of the same story. Smudged belt buckles and dusty seat bolsters transfer grit to paint when owners unbuckle and close doors. We encourage clients to keep the cabin vacuumed and the door sills wiped during regular maintenance. It is a small habit that prevents the telltale arcs of scratches around handles and sills on black daily drivers.
Case notes from the bay
One memorable black sedan arrived after six months of tunnel washes. Under overhead lights it looked acceptable. Under a raking LED, it looked like a snow globe. Our test spot with a medium foam and compound removed about 70 percent of the swirls but left a veil. Swapping to a microfiber cutting pad on the DA broke through the remaining defects in two slow passes. We finished with a soft foam and a dedicated finishing polish at a lower speed, then wiped with a mild panel wipe. In the sun, the hood read like a still pond. We sealed it with a ceramic coating rated in the 2 to 5 year range, knowing the owner’s long highway commute would test it. Six months later, the car returned for a quick inspection. Minimal wash marring, nothing that required more than a light refining pass.
Another case involved a black coupe with older paint protection film on the bumper and portions of the hood. The film’s edge held compound from a previous job, visible as a light gray line. We taped the seam, polished up to it with a finishing pad only, then carefully cleaned the edge with a soft brush and panel wipe. The rest of the hood took a medium foam and compound without drama. The lesson was clear. On black, PPF edges need respect and minimal product so they do not broadcast the seam.
RV detailing and larger black panels
Black sections on RVs and trailers introduce a different problem set. Larger panels flex, and heat builds fast. A long-throw DA still works, but sections must be small and shade becomes mandatory. Because many RV paints are softer single-stage or gelcoat-like finishes, test even more gently than usual, then decide if true paint correction is wise or if a cleaner wax and sealant or ceramic coating designed for gelcoat is the smarter play. On big vertical panels, gravity pulls residue down. Wipe bottom-up to avoid tracking residue into cleaned areas, and keep more towels on hand. If you see swelling or stickiness in the finish as the sun moves, pause. Correcting a black RV panel at noon in summer is how you get haze you chase until dinner.
When to stop cutting
Every black car has a limit. If you measure paint and find the clear is thin, err on the side of refinement over aggression. It is better to leave a few faint RIDS and preserve the clear for future maintenance than to burn the margin today. On dark finishes, the overall gloss and uniformity matter more than erasing every defect. Your eye reads the canvas as a whole.
One hard-won truth: the most perfect black finish in the shop means nothing if the owner cannot maintain it. If they will wash at home in the driveway, tailor your final finish and protection to their habits. A slightly less aggressive finish step that leaves a hair more clear coat, paired with a slick ceramic coating and a simple wash process, is often the winning formula for a car that still looks excellent a year later.
Maintenance that keeps swirls from coming back
The first wash after correction is the most dangerous. Polishes can leave trace oils that attract dust. Rinse thoroughly, foam heavily, and use two mitts, one for top halves and one for bottom halves. Dry with a blower plus a towel, not a towel alone. Refresh the protection layer with a compatible spray sealant every few washes. Avoid circular hand motions when washing or drying. Straight lines reduce the visible impact of any accidental mark, and on black, that visual trick counts.
If the car picks up light marring, a maintenance polish with an ultra-fine finishing pad can rejuvenate clarity without a full correction. Reserve heavier cutting for meaningful defects or after years of wear, not months.
Bringing it together
Swirl-free polishing on black paint is less a secret recipe and more a discipline. Inspect with honest light, prepare the surface to minimize friction, choose the least aggressive combo that wins, and finish with a gentle hand. Protect the result with a layer suited to how the vehicle lives, whether that is a sealant, a ceramic coating, or a blend with targeted paint protection film on high-risk areas. Keep towels clean, pads cooler than you think, and your arm speed steady.
The best black cars we see months later are not the ones that left the shop at 100 out of 100 on day one. They are the ones corrected thoughtfully, protected intelligently, and maintained with the same care that removed the defects in the first place. That approach, practiced every day at Xtreme Xcellence Detailing, keeps black paint reading like ink under harsh light rather than a haze of good intentions.
Xtreme Xcellence Detailing
23561 Ridge Rte Dr # O, Laguna Hills, CA 92653
(714) 472-3001
FAQs About Car Detailing & Paint Protection
How often should you service your car?
Regular car servicing is typically recommended every 5,000 to 7,500 miles or every 6 months, depending on your vehicle and driving conditions. In areas like Laguna Hills, CA, frequent driving and sun exposure make routine maintenance especially important.
What is the difference between waxing and ceramic coating?
Waxing provides a temporary layer of protection that lasts a few weeks to a couple of months, while ceramic coating offers long-lasting protection for several years. Ceramic coatings bond with your vehicle’s paint, delivering superior durability, gloss, and resistance to contaminants.
Is paint protection film worth it?
Yes, paint protection film (PPF) is a great investment for preserving your vehicle’s exterior. It provides a durable, transparent layer that protects against rock chips, scratches, and road debris, helping maintain your car’s value and appearance.
How long does a full car detailing take?
A full car detailing service typically takes between 3 to 8 hours, depending on the vehicle’s size, condition, and the level of service required. More advanced services like paint correction or ceramic coating may require additional time.
How often should I get my car detailed?
For optimal results, it’s recommended to have your car detailed every 3 to 6 months. This helps protect your vehicle from environmental damage and keeps it looking its best year-round.
Does ceramic coating eliminate the need for washing?
No, ceramic coating does not eliminate the need for washing, but it makes cleaning much easier. Dirt and grime have a harder time sticking to the surface, allowing for quicker and more effective maintenance washes.